 Garage cabinet construction is easy to understand with frameless construction and pocket hole joinery. And with 3/4″ thick plywood or sheet stock, garage cabinet construction becomes a simple 2 step process:
- cut all the parts following a plywood cutting diagram
- assemble the parts into a complete cabinet using pocket hole joinery
Let’s first take a look at how we assemble our garage cabinets – you’ll see how easy they are to build, and you’ll understand how easy the cutting diagrams will be to follow.
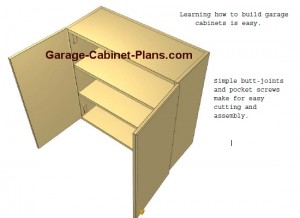
Garage cabinet construction and assembly is easy with simple butt joints and frameless cabinet construction. No need for fancy dado cuts or rabbets – we’re going to cut big squares of wood and use pocket screws to join everything together.
(click the image for a better look)
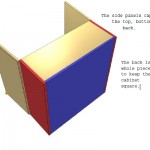
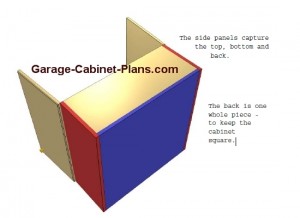
Orientation of all the panels is easy to understand. The end panels (red) capture the top, bottom and back panels.
(click the image for a better look)
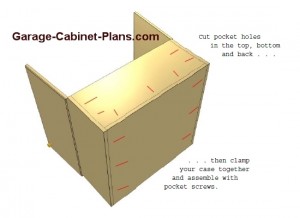
Next, simply drill some pocket holes in the top, bottom and back panels, then you’re ready for some assembly.
If your skills are good with pocket hole joinery, then you’re all set.
Now, let’s take a look at cutting the plywood for your garage cabinets. If you can make a simple jig, cutting plywood becomes a breeze!
—–
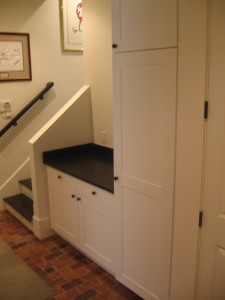
Don’t think these are cheap looking cabinets; on the contrary, these can be serve as beautiful indoor storage cabinets or even kitchen cabinets. It’s really up to you and your skills. Here’s a small project I completed earlier this year using this construction method. The only difference is that I used frame and panel doors instead of slab cabinet doors.
New to cabinet making? Here’s a quick lesson on pocket hole joinery.
Ready to start? Here’s a free garage cabinet plan to download.
This is great…garage cabinets. I’ve been looking for this for a while.